Course: Perception Robotics
Assessment: Individual report
Deadline: As announced on Canvas
Submission: One PDF report and one ZIP archive, submitted to Canvas
Tutorial: Open in Colab · Download notebook
General instructions
- Take all photographs yourself for this assignment. Do not use AI-generated images, online images, photographs from previous submissions, or another student's photographs. Each student must submit their own distinct photographs. Do not reuse the same source photograph across questions.
- Include labelled figures, input filenames, parameter values, numerical results, and explanations in the PDF.
- Include your executed notebook, visible outputs, original photographs, and processed images in the ZIP. Use relative file paths and record all resizing and cropping.
- Cite external code and declare any AI assistance. Run the code yourself and report the results, including failures.
Question 1: Image Filtering and its Effect on Edge Detection
Tasks:
Question 2: Object Segmentation using HSV Color Space
Tasks:
Question 3: Circle Detection with Hough Transform
Tasks:
Image Capture: Find at least two circular objects on the PolyU Hung Hom campus. Photograph them where you find them. Use one or more photographs to show the objects.
Circle Detection: Apply the following steps to each photograph:
- Convert the image to grayscale and apply Gaussian Blur. Report the kernel size and sigma.
- Use the
cv2.HoughCircles() function to detect circles in the image.
- Tune and report
dp, minDist, param1, param2, minRadius, and maxRadius. Count the correctly detected, missed, and falsely detected circles.
- Draw the detected circles on the original image and display the result.
Question 4: Camera Calibration
Tasks:
- Prepare Your Checkerboard: Print a black-and-white checkerboard and mount it on a flat, rigid board. Measure the square side length in millimetres. Report the number of inner corners as columns × rows. Include a photograph showing the board beside a ruler.
- Image Capture: Collect 15–20 photographs with the complete pattern in focus. Include views with the board at the image centre and near each of the four edges, at two or more distances, and tilted horizontally and vertically. Keep the camera, lens, zoom, and image resolution fixed.
- Corner Detection: Use
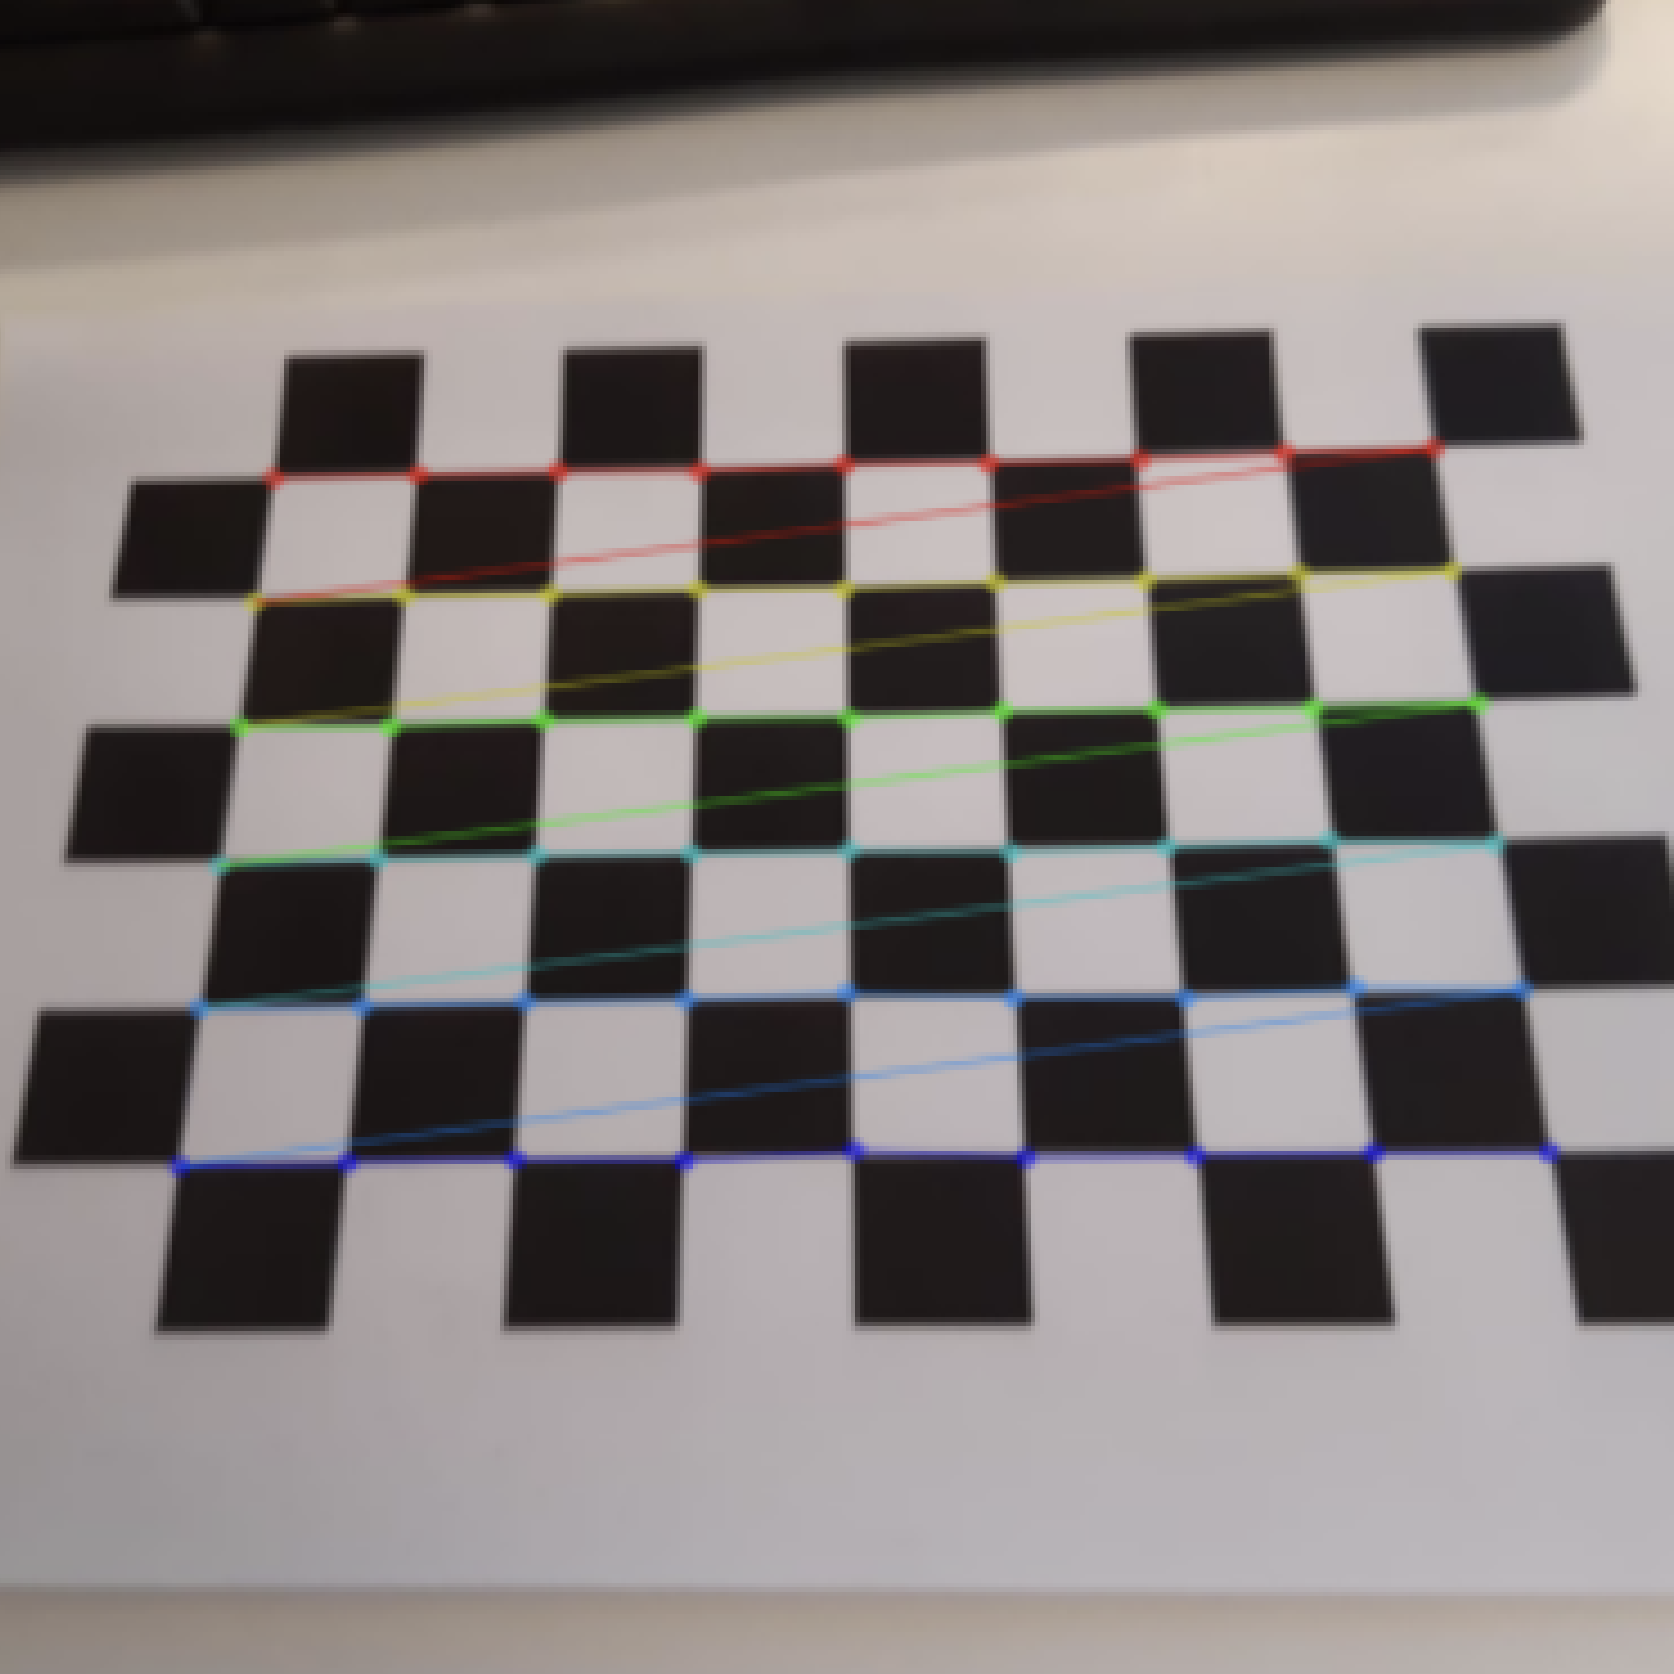
cv2.findChessboardCorners() and cv2.cornerSubPix() from tutorial §2.3. Retake failed views until 15–20 images have all corners detected. List their filenames and show corner overlays for three images.
- Camera Calibration: Construct the checkerboard coordinates using the measured square size and run
cv2.calibrateCamera(). Report the 3 × 3 intrinsic matrix, distortion coefficients, processing resolution, and RMS reprojection error in pixels.
- Undistortion and Comparison: Apply
cv2.undistort() to two photographs. Show each original and corrected image side by side, plus a close-up of the same checkerboard line near an image edge. Describe the observed changes and one problem encountered during capture or calibration.
Question 5: Campus panorama
Tasks:
Determine your assigned PolyU campus location: Enter your 8-digit student ID on the Campus Draw website. Save your assignment receipt.
Collect your images: At your assigned location, take at least 12 photographs in normal photo mode while rotating through 360° horizontally from one fixed camera position. Keep the camera height, lens, and zoom fixed. Use 40–60% overlap between adjacent views, including the last and first views. Include your physical student ID card in one source photograph, with your name and student number readable and the campus scene visible. Do not add the card digitally or use the camera's panorama mode.
Image Stitching:
- For one adjacent image pair, use SIFT, BFMatcher, and
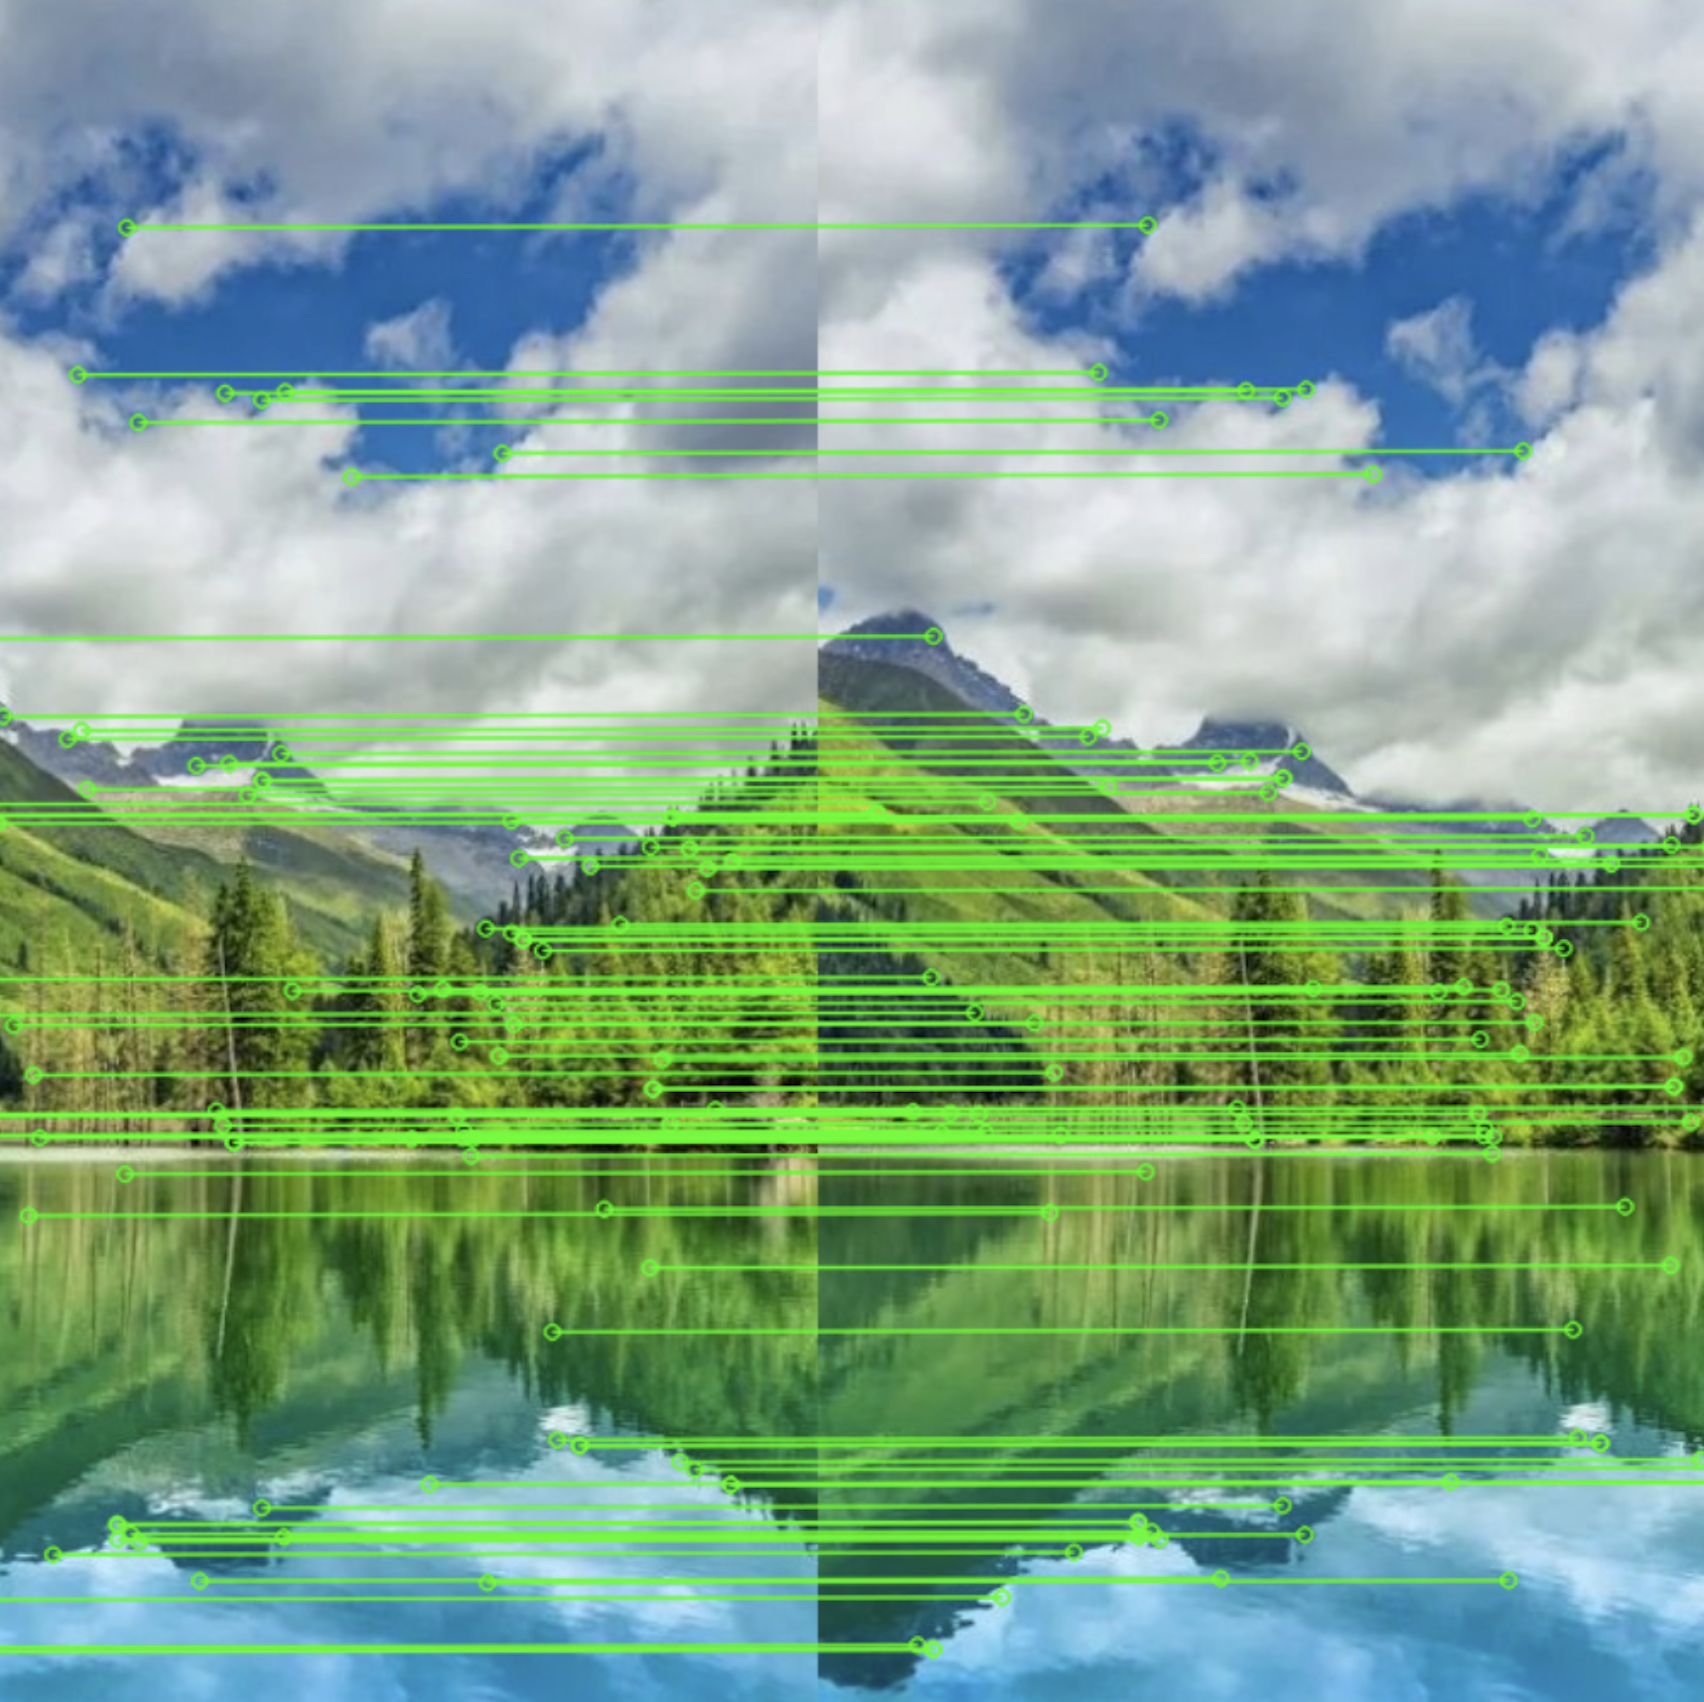
cv2.findHomography() with RANSAC. Show the inlier matches and report the homography matrix and inlier count.
- Stitch the complete sequence into one panorama covering the full horizontal 360°, using cylindrical or spherical projection. You may use
cv2.Stitcher_create(cv2.Stitcher_PANORAMA); see the OpenCV stitching guide.
- Show the source photographs in capture order, identify the photograph containing your student ID card, and display the final panorama. Include a side-by-side close-up of the panorama's left and right edges to check the wraparound seam.
Question 6: Perspective Correction
Tasks:
- Image Capture: Take two photographs of the same flat rectangular object, such as a document or book cover: one at a slight angle and one at a stronger angle. Keep all four corners visible. Record the object's known or measured width and height.
- Corner Selection: Manually identify the four corner coordinates in each image. Label them in a consistent order and match them to the corresponding corners of the output rectangle, following tutorial §2.6.
- Perspective Correction: Use
cv2.getPerspectiveTransform() and cv2.warpPerspective() to rectify both images. Choose the output aspect ratio from the object's width and height, and use the same output size for both images. Show the original images with labelled corners and the two corrected results. Include the source and destination coordinates, transformation matrices, and code.
- Corner Sensitivity Experiment: For one image, increase the x-coordinate of one selected source corner by 20 pixels, recompute the transformation, and rectify the image again. Keep the other three corners, destination coordinates, processing resolution, and output size unchanged. State the processing resolution and identify the corner you changed.
- Comparison: Show the baseline and shifted-corner results side by side, with a close-up of the same text or image detail. Briefly compare the two viewing angles and explain how the corner shift affects the corrected image's shape, alignment, or readability.
Question 7: Analysis and Discussion
Based on the results from your work in the previous questions, provide clear and concise answers to the following.
On Filtering and Edges (from Question 1):
Compare the results of the three filters you applied. Explain why the bilateral filter was more effective at preserving edges while reducing noise compared to the others.
On Color Segmentation (from Question 2):
What are the main advantages of using the HSV color space for color-based segmentation compared to the RGB color space?
Describe the challenges you faced while determining the correct HSV threshold values. For instance, how did the lighting in your photo affect the required ranges for Saturation (S) and Value (V)?
On Camera Calibration (from Question 4):
Why should the checkerboard be photographed at different positions and tilts? Refer to your captured images and explain why a low RMS reprojection error alone does not guarantee an accurate calibration.
On Image Stitching (from Question 5):
How does RANSAC help estimate a homography when feature matches contain errors? Identify a region in your panorama that aligns well or poorly, and discuss how repeated building patterns or camera movement could affect the result.
If you have any questions regarding the lab assignment, please contact Songhao via email.